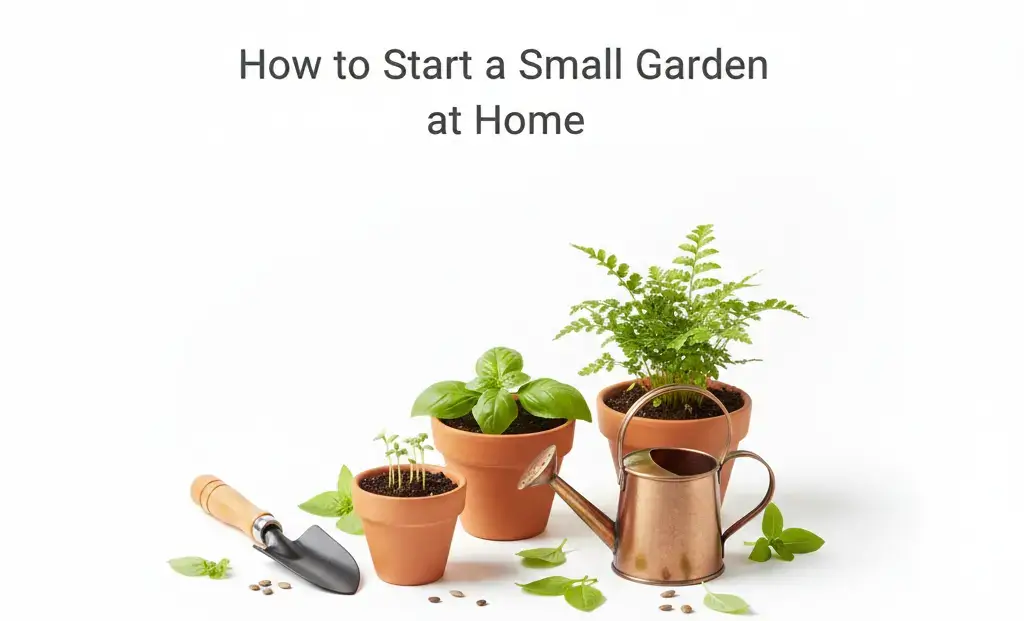
I love showing people how to start a small garden at home because it is simple, fun, and tasty. With a few smart steps, I can turn a balcony, patio, or tiny yard into a steady source of herbs and fresh veggies. In this guide, I walk through a clear plan: find the right spot, choose an easy garden style, pick beginner plants, build healthy soil, plant the right way, and follow a simple weekly routine.
I keep the steps short and practical. I focus on what matters, like sun hours, water, and good soil. I also include timely October tips, like planting greens and garlic. By the end, I will know exactly what to do this weekend to get started with how to start a small garden at home.
Plan Your Space: How to Start a Small Garden at Home the Easy Way
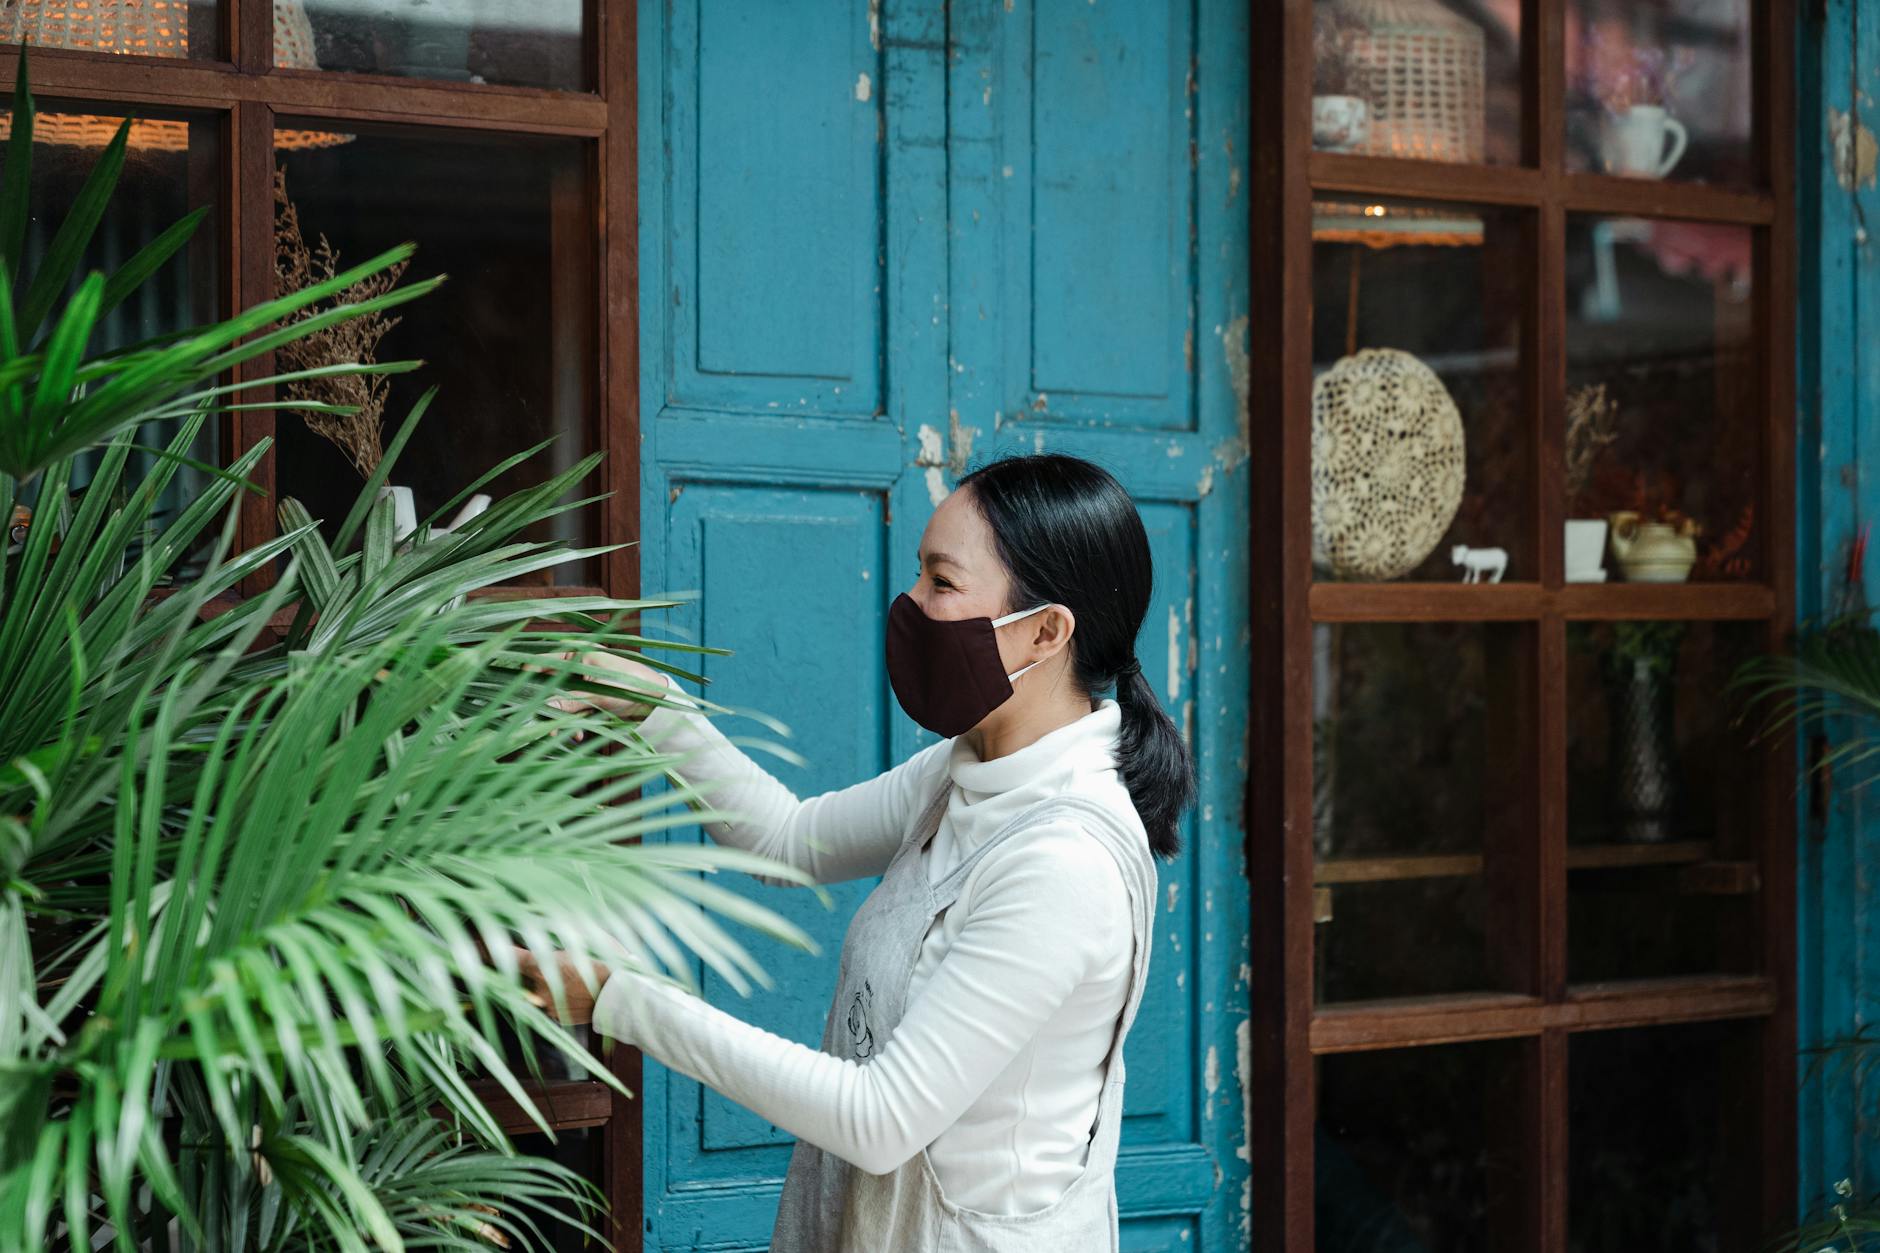
 Photo by Ketut Subiyanto
I start by matching the garden to my space and light. A quick scan of sun, water, and wind tells me what will thrive. I do not overthink it. I plan a tiny layout, then get planting.
- Sun check: I track the sun for one day. Most veggies want 6 to 8 hours. I note shade from fences and trees. Heat bounces off walls in the afternoon, so I watch for hot spots and wind tunnels.
- Measure space: I measure length and width. I note hose reach or a nearby water source. Pets and foot traffic matter, so I keep beds clear of regular paths.
- Garden styles:
- Containers: great for balconies, easy to start, light to move. I use quality potting mix that drains well.
- Raised beds: warm faster in spring, give me control of soil, look tidy.
- In-ground beds: lowest cost if soil is fair. I improve with compost to fix texture.
- Vertical add-ons: a trellis for peas or beans saves ground space and adds a bit of charm.
I pick one style to start. One or two containers or one 3 by 6 foot bed is plenty. That size gives room for a small salad bar and a couple of snacks.
Next, I sketch a simple map. I group plants by sun and water needs. I leave reach paths about 2 to 3 feet if I can. Tall plants go on the north side so they do not shade shorter ones.
I make a basic rotation plan. I change plant families each season to cut pests and keep soil in balance. For example, after tomatoes, I switch to beans or greens.
Quick checklist:
- Location with sun, near water
- Containers or one small bed
- Potting mix or compost and topsoil blend
- Mulch, like straw, leaves, or wood chips for beds
- Tools: gloves, hand trowel, pruners, watering can or hose, stakes or a tomato cage
Find the Right Spot for Sun, Shade, and Water
I count sun hours by checking the area every couple of hours. Morning sun is gentle. Afternoon sun is strong. Most veggies need 6 to 8 hours total. I keep the garden near a hose or rain barrel so watering is easy. A south-facing wall stores heat, which suits tomatoes and peppers. In hot regions, I use partial shade for greens so they do not wilt.
Choose a Garden Style that Fits Your Space and Budget
Containers shine on balconies or patios and cost little to start. I use 3 to 5 gallon pots for tomatoes and peppers, and shallow boxes for lettuce and herbs.
Raised beds pack a lot of growth into a neat space. They warm faster, drain well, and improve poor soil quickly. One 3 by 6 foot bed grows a lot of salads and snacks.
In-ground beds work when soil is decent. I loosen the area, add compost, and mulch on top. This is my go-to when I have a small yard.
Sketch a Simple Garden Map for Smart Spacing
I draw a light pencil map. Tall plants on the north, medium in the center, short in front. I leave space for airflow to prevent disease. I label each spot with plant names and spacing. I group plants with similar water needs, like herbs together and heavy drinkers like tomatoes together.
Basic Tools and Supplies I Actually Use
- Gloves and a hand trowel
- Pruning shears and a soil knife if I can
- Watering can or hose with a gentle nozzle
- Quality potting mix for containers, compost for beds
- Mulch, like straw or shredded leaves
- Stakes, a small trellis, or a tomato cage
Read Also: How To Grow Brussels Sprouts
Pick Easy Plants and Prep Soil for Strong Growth
I start with plants I love to eat. I pick 3 to 6 crops so I can give them attention. A short list keeps things manageable and less stressful.
Beginner winners include lettuce, spinach, kale, radishes, bush green beans, bush cucumbers, cherry tomatoes, basil, chives, parsley, and mint. I grow mint in its own pot so it does not spread.
I match plants to my season and light. Cool-season crops like lettuce, spinach, and radishes do well in spring and fall. Warm-season crops like tomatoes, peppers, and cucumbers prefer late spring into summer. In October, most areas outside of early frost zones favor cool-season crops.
Seeds or seedlings depends on the crop. I sow seeds for greens, peas, and radishes. I buy seedlings for tomatoes and peppers to save time. It keeps the process smooth.
Soil basics are simple. Most veggies prefer pH between 6 and 7 and well-drained soil. I add compost for nutrients and structure. I never use garden soil in containers. I pick a quality potting mix that drains and holds air.
On planting day, I follow packet depth and spacing. I water right after planting. I cover the soil with mulch to hold moisture and block weeds. It saves me time all season.
Beginner-Friendly Plants that Thrive in Small Spaces
- Cherry tomatoes: steady harvests in a pot with a simple stake.
- Bush beans: compact plants with easy pods.
- Cut-and-come-again lettuce: fast salads that regrow after cutting.
- Basil: big flavor, small space, loves warm spots.
- Radishes: quick wins in 25 to 35 days.
- Spinach: cool-season leaves for smoothies and sautés.
- Chives: hardy, cut often, great in eggs and soups.
October Quick-Start: Cool-Season Crops and Garlic
October is prime time for spinach, kale, arugula, and radishes in many mild to cool regions. Carrots can go in now where soil stays workable. Garlic goes in during October for a summer harvest next year. In cold zones, I add a row cover if frost is likely. It traps a bit of warmth and keeps tender baby greens safe.
Build Healthy Soil with Compost and Good Drainage
For beds, I mix 2 to 3 inches of compost into the top 6 to 8 inches of soil. This boosts nutrient flow and structure. For containers, I use a quality potting mix, not topsoil. I check drainage by watering and watching. If water clears the surface in a few minutes, I am good. If the soil stays soggy, roots will suffer. I adjust by adding perlite or switching mixes.
Planting Basics: Depth, Spacing, and First Watering
I read the seed packet or plant tag. Depth and spacing matter. Crowding leads to weak growth and disease. I water gently until the soil is evenly moist, not soaked. Once seedlings are established, I add a 2 inch mulch layer. I keep a small open ring around the stem to prevent rot.
Care Made Simple: A Weekly Routine that Keeps Plants Happy
A tiny weekly routine keeps the garden humming. I water in the morning, feed lightly, and scan for issues. Twenty minutes is often enough.
I use the finger test to water. I push a finger into the soil up to my second knuckle. If the top inch is dry, I water. I water deeply and let the top inch dry a bit between sessions. Most gardens need about an inch of water per week. In heat, I water more often.
Mulch solves a lot of work. Two to three inches on beds saves water and blocks weeds. I hand pull small weeds each week before they spread. I support plants that climb or flop. Stakes, cages, and a small trellis do the job.
I feed lightly every 3 to 4 weeks with compost or a balanced organic fertilizer. I rotate plant families each season. I move tomatoes and peppers away from last year’s tomato spot. It reduces pest pressure.
I watch for pests and disease. I remove damaged leaves and try to keep foliage dry. Row covers help protect young greens from insects and cold snaps.
Weekly checklist:
- Morning water check, finger test
- Deep water if the top inch is dry
- Quick weed pull, 5 minutes
- Tie to stakes or adjust trellis as needed
- Light feeding if due this week
- Scan for pests, remove damaged growth
Watering Made Easy: How Much and How Often
I water in the morning so leaves dry during the day. I use the finger test to decide when. Deep watering trains roots to grow down. For seedlings, I use a watering can with a gentle rose so I do not wash them out.
Mulch, Weed, and Support for Less Work
Mulch saves time and water. I use straw, leaves, or wood chips on beds. I check for weeds weekly. A single stake supports a tomato. A small trellis guides peas or beans. Simple supports keep plants tidy and productive.
Simple Feeding and Crop Rotation for Ongoing Health
I add a thin layer of compost or a balanced organic fertilizer once a month. That keeps growth steady. I rotate crops by family when the season changes. Nightshades like tomatoes and peppers move to a fresh spot. Beans or greens take their place.
Common Mistakes and Quick Fixes
- Do not overcrowd plants. Give them room.
- Sun lovers need full sun. Move shade lovers to cooler spots.
- Avoid overwatering. Aim for steady moisture.
- Use mulch to block weeds and hold moisture.
- Rotate crops between seasons to reduce pests.
- Protect tender plants from frost with row covers.
Conclusion
I picked a sunny spot, chose 3 to 5 easy plants, set up soil, and planted with care. I will water in the morning, mulch to save moisture, and follow a short weekly check.
October is perfect for greens and garlic, so I can get a fast win right now. If I want to remember how to start a small garden at home, it comes down to sun, soil, water, and a simple routine. I will make a tiny plan today and plant this weekend.
FAQs
How much space do I need to start?
A few containers or a 3 by 6 foot bed is enough for salads and herbs.
Can I garden on a balcony?
Yes, use containers with quality potting mix and pick compact plants like bush beans and herbs.
How often should I water?
Water when the top inch is dry. Morning is best for steady moisture.
What should I plant first?
Lettuce, spinach, radishes, basil, and cherry tomatoes are easy and rewarding.
Do I need fertilizer?
A light feeding with compost or a balanced organic fertilizer every month supports growth without overdoing it.

Hello! I’m Ibrahim, the owner and writer of this blog. I run a chicken farm with 160 chickens, and I’ve gained a lot of knowledge about raising and caring for them. Now, I want to share my insights and experiences with you to help you in chicken keeping.

