What if your eggs fail to hatch? Have you ever considered the importance of ideal temperature and humidity in hatching your eggs? Range of temperature and humidity play a crucial role in this process. That is why we drew an easy-to-read egg-hatching temperature chart for you to put in your front during the incubation and hatching process.
We also talk about the 21-day incubation period from day 1 to day 21 and some important questions that you need to know before this job.
Let’s get started.
Article Summary
- Chicken eggs normally take 21 days to hatch, under optimal temperature and humidity or incubation conditions.
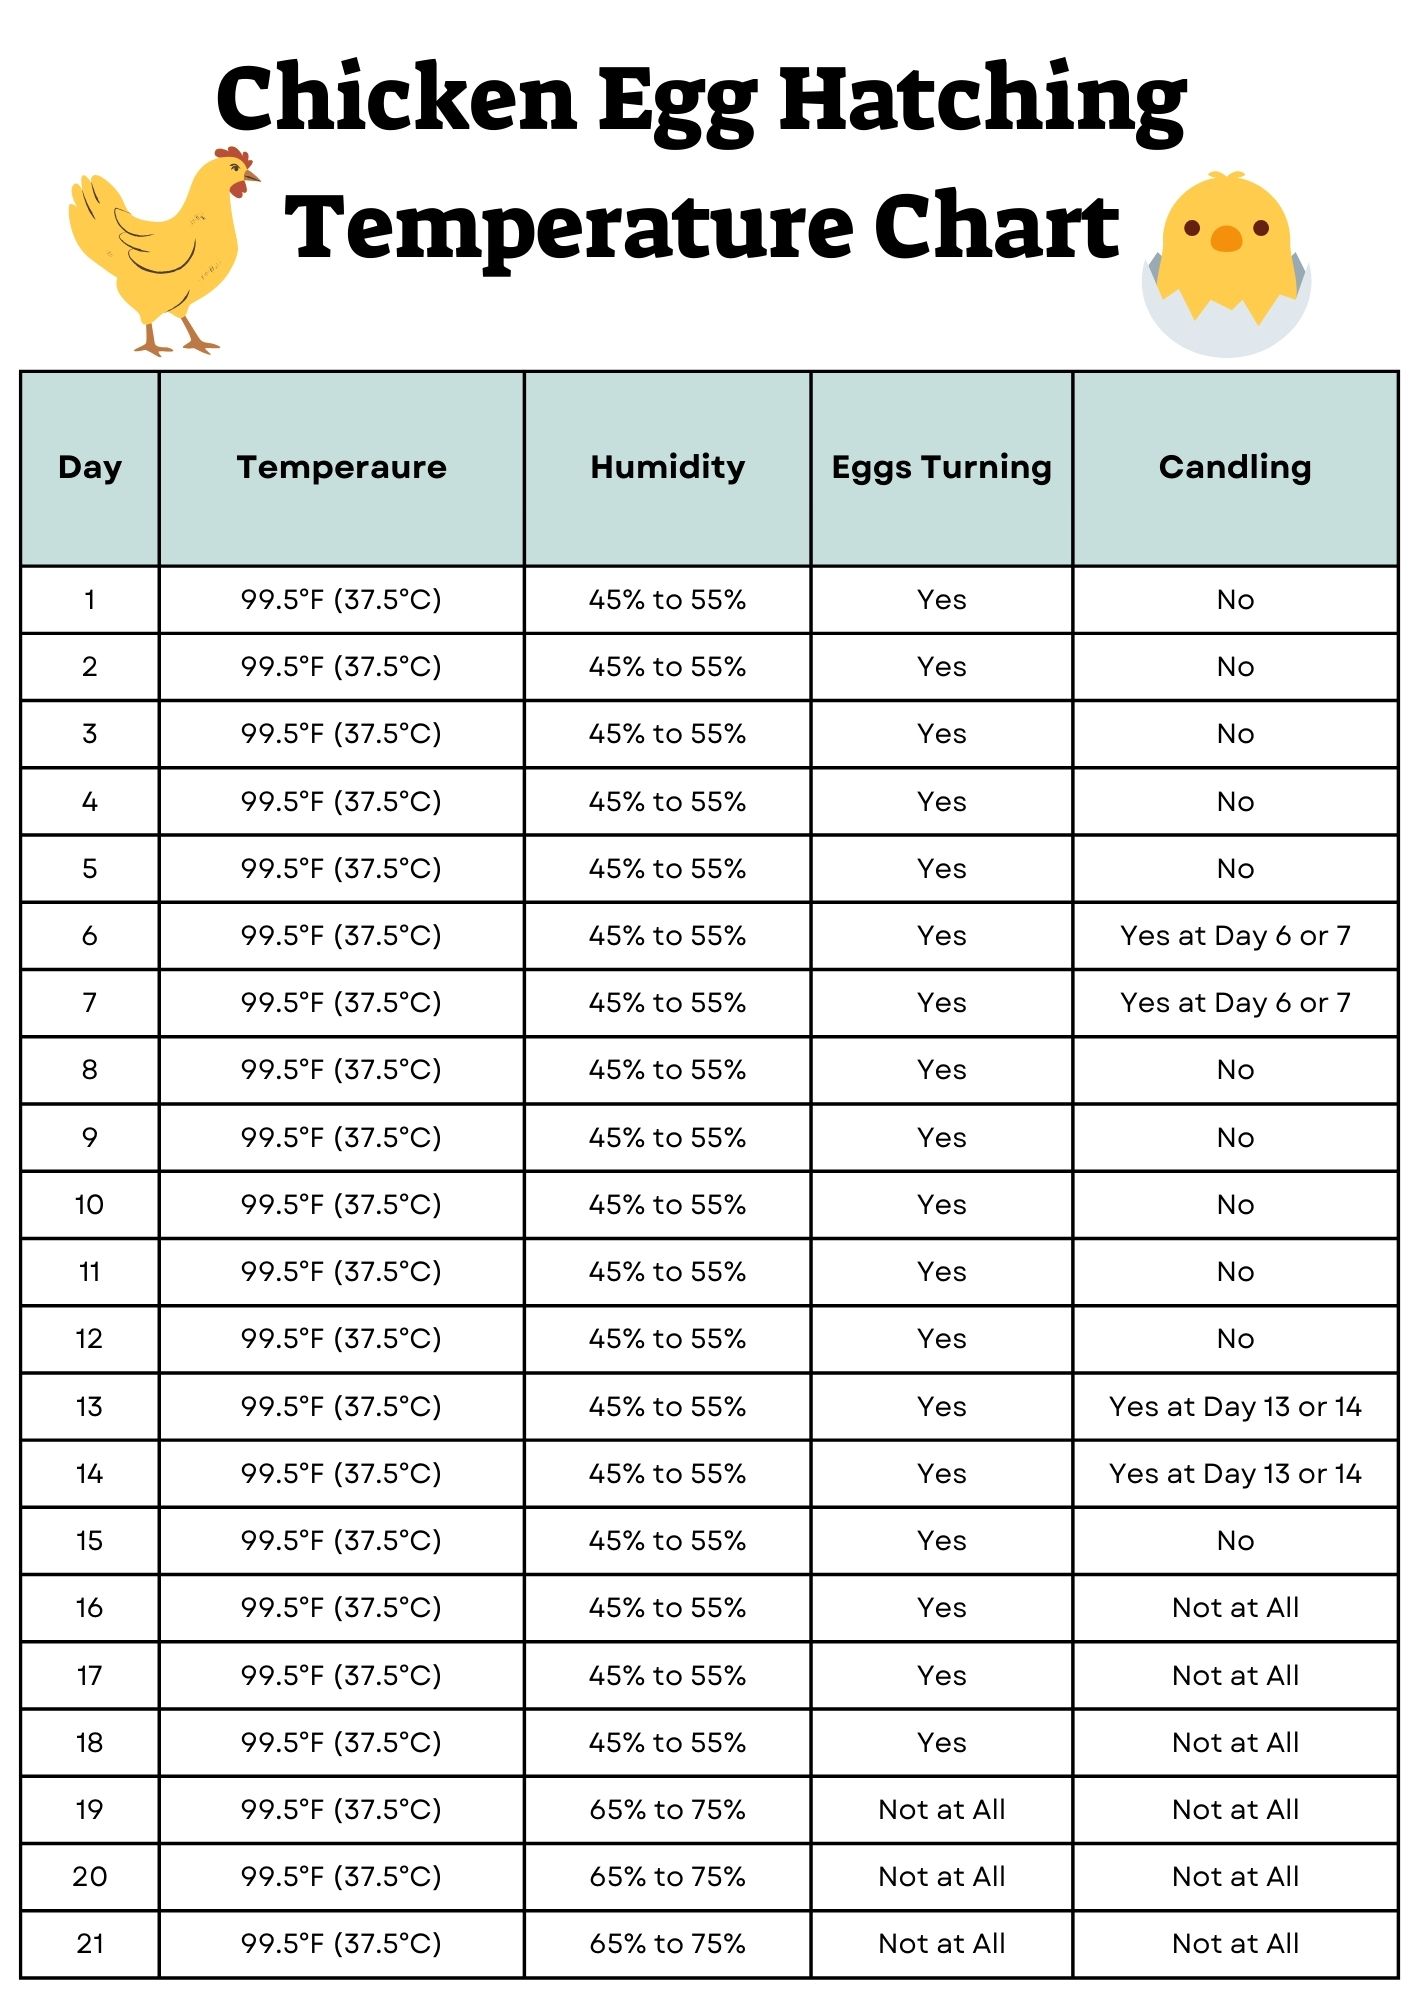
- The ideal temperature is around 99.5°F (37.5°C). The humidity level is between 45-55% during the first 18 days and then increases to 65-75% for the final 3 days (Days 19, 20, 21).
- Proper equipment, fertile eggs, and knowing important things like egg turning, and egg hatching temperature charts are necessary before the incubation and hatching job.
Egg Hatching Temperature Chart
This egg hatching temperature chart is vital for successful egg incubation and hatching.
It provides guidelines for maintaining optimal conditions, like temperature, humidity levels, and egg positioning. 
How to Set Up Incubator for Incubation
Select the ideal location for the incubator like putting it away from sunlight, drafts, and ensuring stable, consistent temperatures.
Adjust temperature around 99.5°F (37.5°C) and humidity levels between 45% to 55%. Use a reliable thermometer and hygrometer to know the exact temperature and humidity levels. For more read the above egg hatching temperature chart.
Carefully place the egg trays inside the incubator, ensuring they are clean, sanitized, and not overcrowded. Position the eggs with the pointed end slightly downwards to mimic a natural nesting position.
Once the incubator is set up regularly check the temperature and humidity levels to prevent high fluctuations. Additionally, clean the incubator regularly to prevent bacterial contamination.
How to Select Eggs for Incubation
Choose eggs for incubation that are from healthy parent stock and also the egg should fresh and fertile. Avoid cracked, misshapen, and excessively dirty eggs.
The eggs you choose for incubation must be stored in a cool, humid environment with a temperature between 50-60°F (10-15°C).
Place the eggs with the pointed end slightly lower than the broader end to provide proper alignment of the air cell.
Before setting the eggs in the incubator, allow them to rest at room temperature for 12-24 hours to acclimate.
Eggs Turning Phase (Day 1 to 18)
After selecting eggs and setting up the incubator, the next step is to put the egg hatching temperature chart in your front and begin the 21-day incubation process.
Day 1-18 is the process or phase of egg turning and positioning, a beneficial and important activity during incubation.
Turning eggs is important as it prevents the embryo from sticking to the inner membrane of the eggshell, which could hinder proper development.
It also helps to distribute heat and nutrients evenly across the egg, ensuring that all parts of the embryo receive adequate warmth and nutrients.
Egg turning promotes proper embryo development by preventing deformities and ensuring the formation of strong skeletal structures.
Turning eggs can prevent malpositions, in which the embryo becomes improperly aligned within the egg. This can result in developmental abnormalities or even death of the embryo.
During the first 18 days of the incubation period, eggs need to be turned multiple times a day or should be turned at least 3 to 5 times daily.
| Pro tip:
If you’re manually turning the eggs, it’s recommended to lightly mark them with a pencil (never use a pen) to help you keep track of which ones have been turned. If you’re using an automatic incubator, it will handle the eggs turning for you. |
Make sure that your hands are clean or wear gloves before you open the incubator and touch the eggs. This helps keep the baby chicks inside safe from any external dirt or germs.
How to do Eggs Candling During Incubation
Egg candling is the process of shining a strong light above or below the egg to observe and assess the quality and development of an egg or embryo.
Eggs should be candled after days 6 or 7 of incubation, after candling on day 7, you should wait and leave the eggs till day 13 or 14.
Stop candling the eggs after day 16 or 17 as the eggs should not move and even turn during this time.
Choose the eggs you want to candle and find a dark or dim light room to see the light shining through the egg easily.
You’ll need a bright/strong light source, such as a flashlight or a specialized egg candling device for easy candling.
Gently pick up one egg and place the light source beneath the egg. You can hold the egg directly above the light or use a candling device with a built-in light source.

Look closely at the egg to be able to see the interior of the egg illuminated by the light and pay attention to the following:
-
Air Cell:
You’ll notice a small air cell at the top of a fresh egg. The size of this air cell can indicate the age of the egg. As the egg ages, the air cell grows larger.
-
Yolk:
The yolk should be centered and easily visible. It may move around slightly when you tilt the egg.
-
Egg White (Albumen):
The egg white should appear clear and translucent. Any abnormalities such as blood spots or discoloration should be noted.
-
Embryo Development:
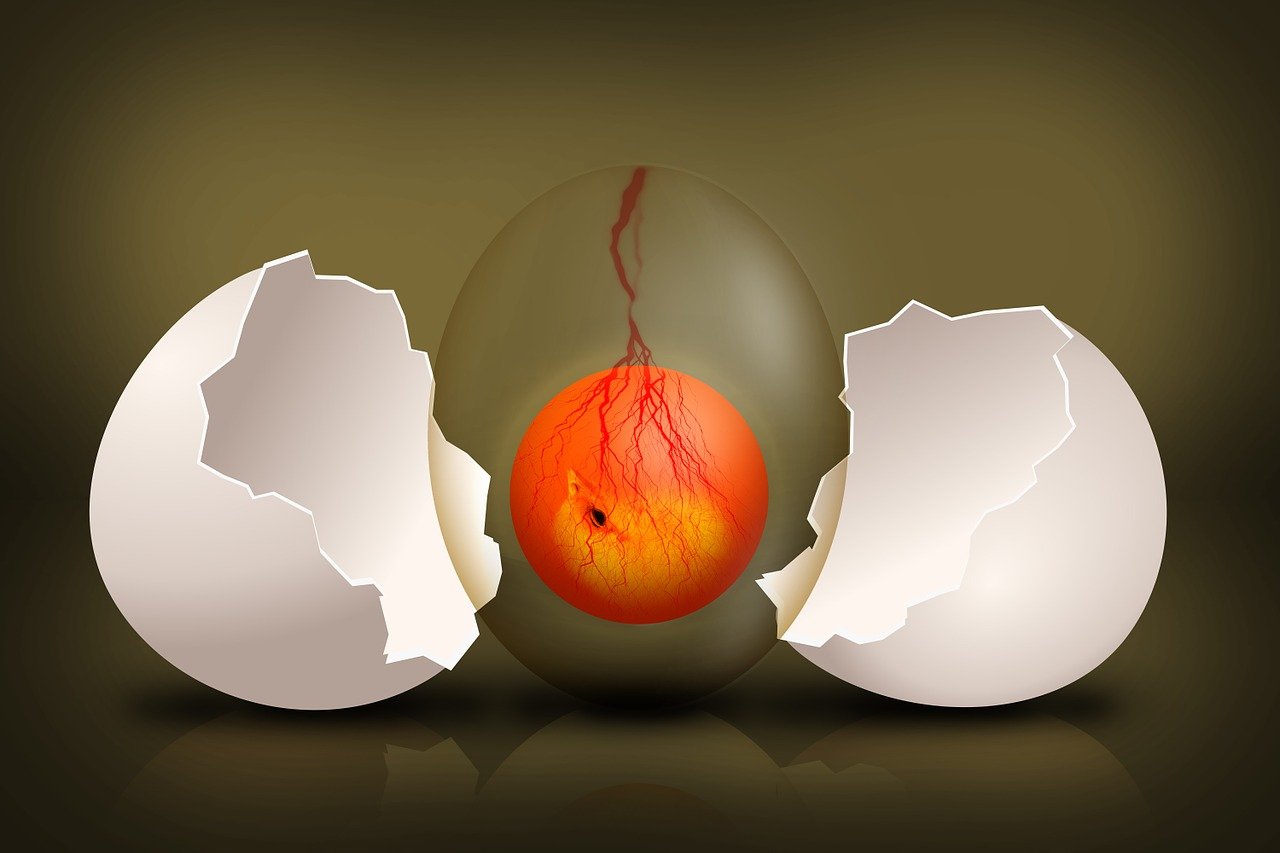
If the egg is fertile and has been incubated for a few days, you may see veins or even the embryo itself. A developing embryo will appear as a dark mass with veins radiating from it.
-
Interpretation:
Based on your observations, you can determine the quality and development stage of the egg. Healthy, fertile eggs will show clear signs of development, while infertile or damaged eggs will show abnormalities or lack of development.
-
Repeat:
Continue the process for each egg you want to candle, taking note of any observations.
Try to candle eggs quickly, but not too fast. Make sure to put them back in the incubator within 20 to 30 minutes.
Once you have finished candling, carefully return the eggs to the incubator and dispose/remove any abnormal or spoilage signs eggs.
Lock-Down Period (Day 18 to 21)
The last 3 days (days 19, 20, and 21) are called the lockdown period, this is the last stage or day of incubation.
These are the most important days of incubation because after that, the incubation process is complete and the chicks begin to hatch from the eggs.
During these final days of your incubation, it’s crucial to focus on some important tasks:
-
Stop Turning and Moving Eggs
In these last days, you should stop moving or turning eggs. This is the stage where the chick or embryo will move into its final hatching position.
If you’re manually turning the eggs, simply stop turning. If you’re using an automatic egg turner, remove the turner from the incubator.
-
Maintain Constant temperature
A stable temperature is essential in incubation as it allows proper embryo growth and ensures successful hatching.
Ensure that the temperature remains stable and within the appropriate range for hatching in these last days of incubation.
-
Increase the Humidity Level
Humidity prevents losing too much moisture from the egg. That could lead to dehydration and affect the embryo’s growth and development.
The humidity level should increase in these last 3 days of incubation, in the first 18 days, the humidity level should be between 45%-55%, and in the last 3 days, it should be increased to 65%-75%.
What Happens After Lock Down (After Day 21)
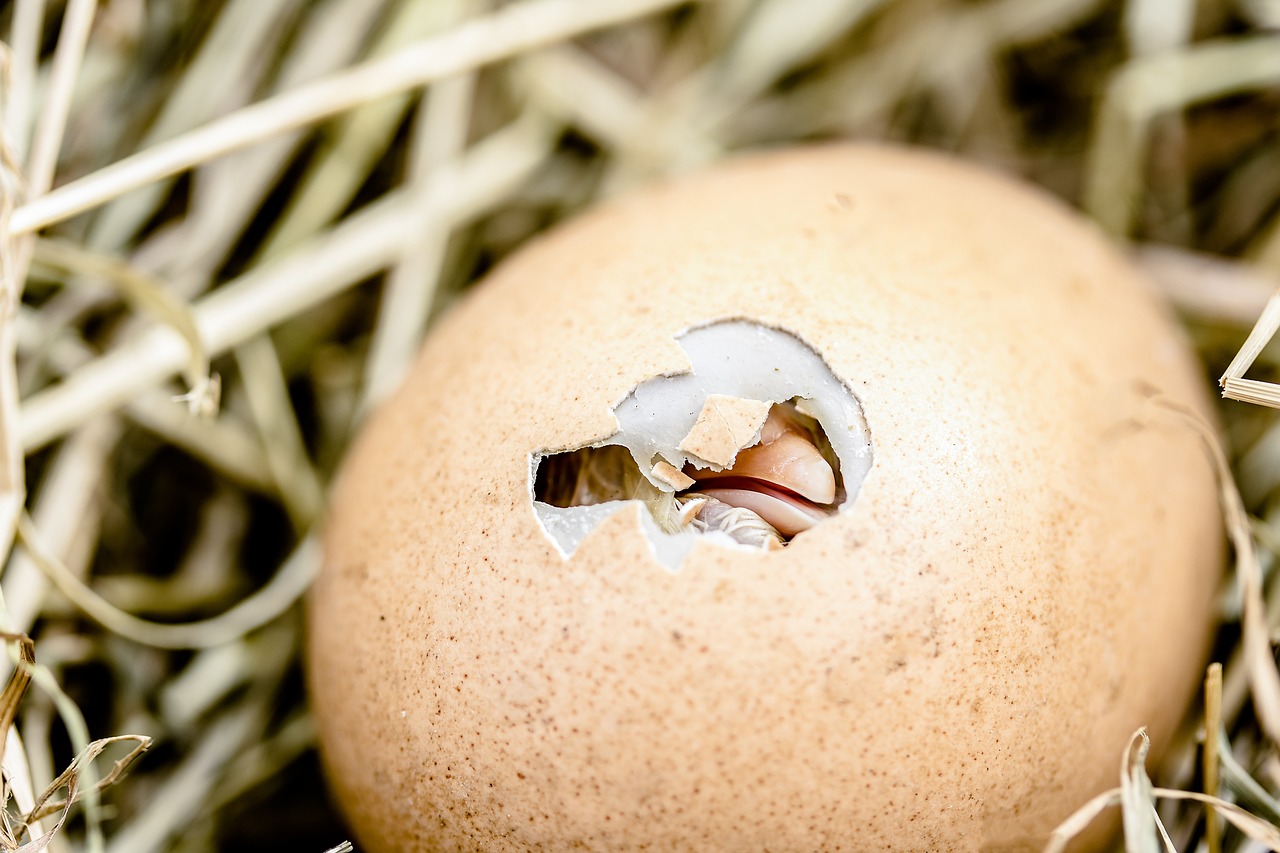
At day 21 of incubation, chicks are ready to hatch from the eggs, normally chicks hatch on day 21 of incubation.
Commonly chicks can take 5-7 hours to hatch, however, the process can also take up to 24 hours or a little more time to completely hatch.
If any eggs remain unhatched even by day 21, it’s possible that you miss some points in our egg hatching temperature chart or slight changes in the incubation process, such as temperature or humidity, occurred.
Before you remove or throw away any eggs that haven’t hatched, it’s a good idea to candle them to check if there’s any life inside.
An interesting point is the peeping of the new baby chicks also encourages unhatched eggs to start hatching.
Once new baby chicks hatch and dry in the incubator, then they should move to a brooder where they have access to a warm, safe, and controlled environment.

Conclusion
Understanding the importance of temperature and humidity (read the egg hatching temperature chart carefully) is essential for chicken egg incubation, whether for poultry, reptiles, or other species.
Optimal temperature and humidity ranges are important for successful hatching, ultimately influencing the health and viability of the embryos.
Have you ever tried your hand at incubating chicken eggs? Feel free to share your problems and thoughts with us we would love to help you.
FAQs – Eggs Hatching Temperature
What temperatures are ideal for hatching eggs?
Ideal temperatures for hatching chicken eggs normally require a consistent temperature of around 99.5°F (37.5°C). It’s important to consult a specific egg-hatching temperature chart for accurate information.
What happens if the temperature during egg incubation is too high or too low?
Increasing temperature and humidity from normal levels can result in poor hatch rates, developmental abnormalities, or even death of the embryo. That’s why it’s very important to keep temperature and humidity in normal and recommended ranges.
How long does it take for chicken eggs to hatch?
Chicken eggs hatch in 21 days, but some may take more time. It’s possible that there were slight changes in the incubation process like temperature or humidity.
What are the common mistakes to avoid when hatching eggs?
Avoid these common mistakes when hatching eggs including fluctuating temperatures, inadequate humidity levels, improper ventilation, and contamination of the eggs.
Can I hatch eggs without an incubator?
Yes, you can hatch eggs without an incubator. It’s possible to use alternative methods such as broody hens for chicken eggs or natural environmental conditions for reptile eggs. However, an incubator provides greater control over temperature and humidity, increasing the chances of successful hatching.
Hello! I’m Ibrahim, the owner and writer of this blog. I run a chicken farm with 160 chickens, and I’ve gained a lot of knowledge about raising and caring for them. Now, I want to share my insights and experiences with you to help you in chicken keeping.


10 thoughts on “Chicken Egg Hatching Temperature Chart”