
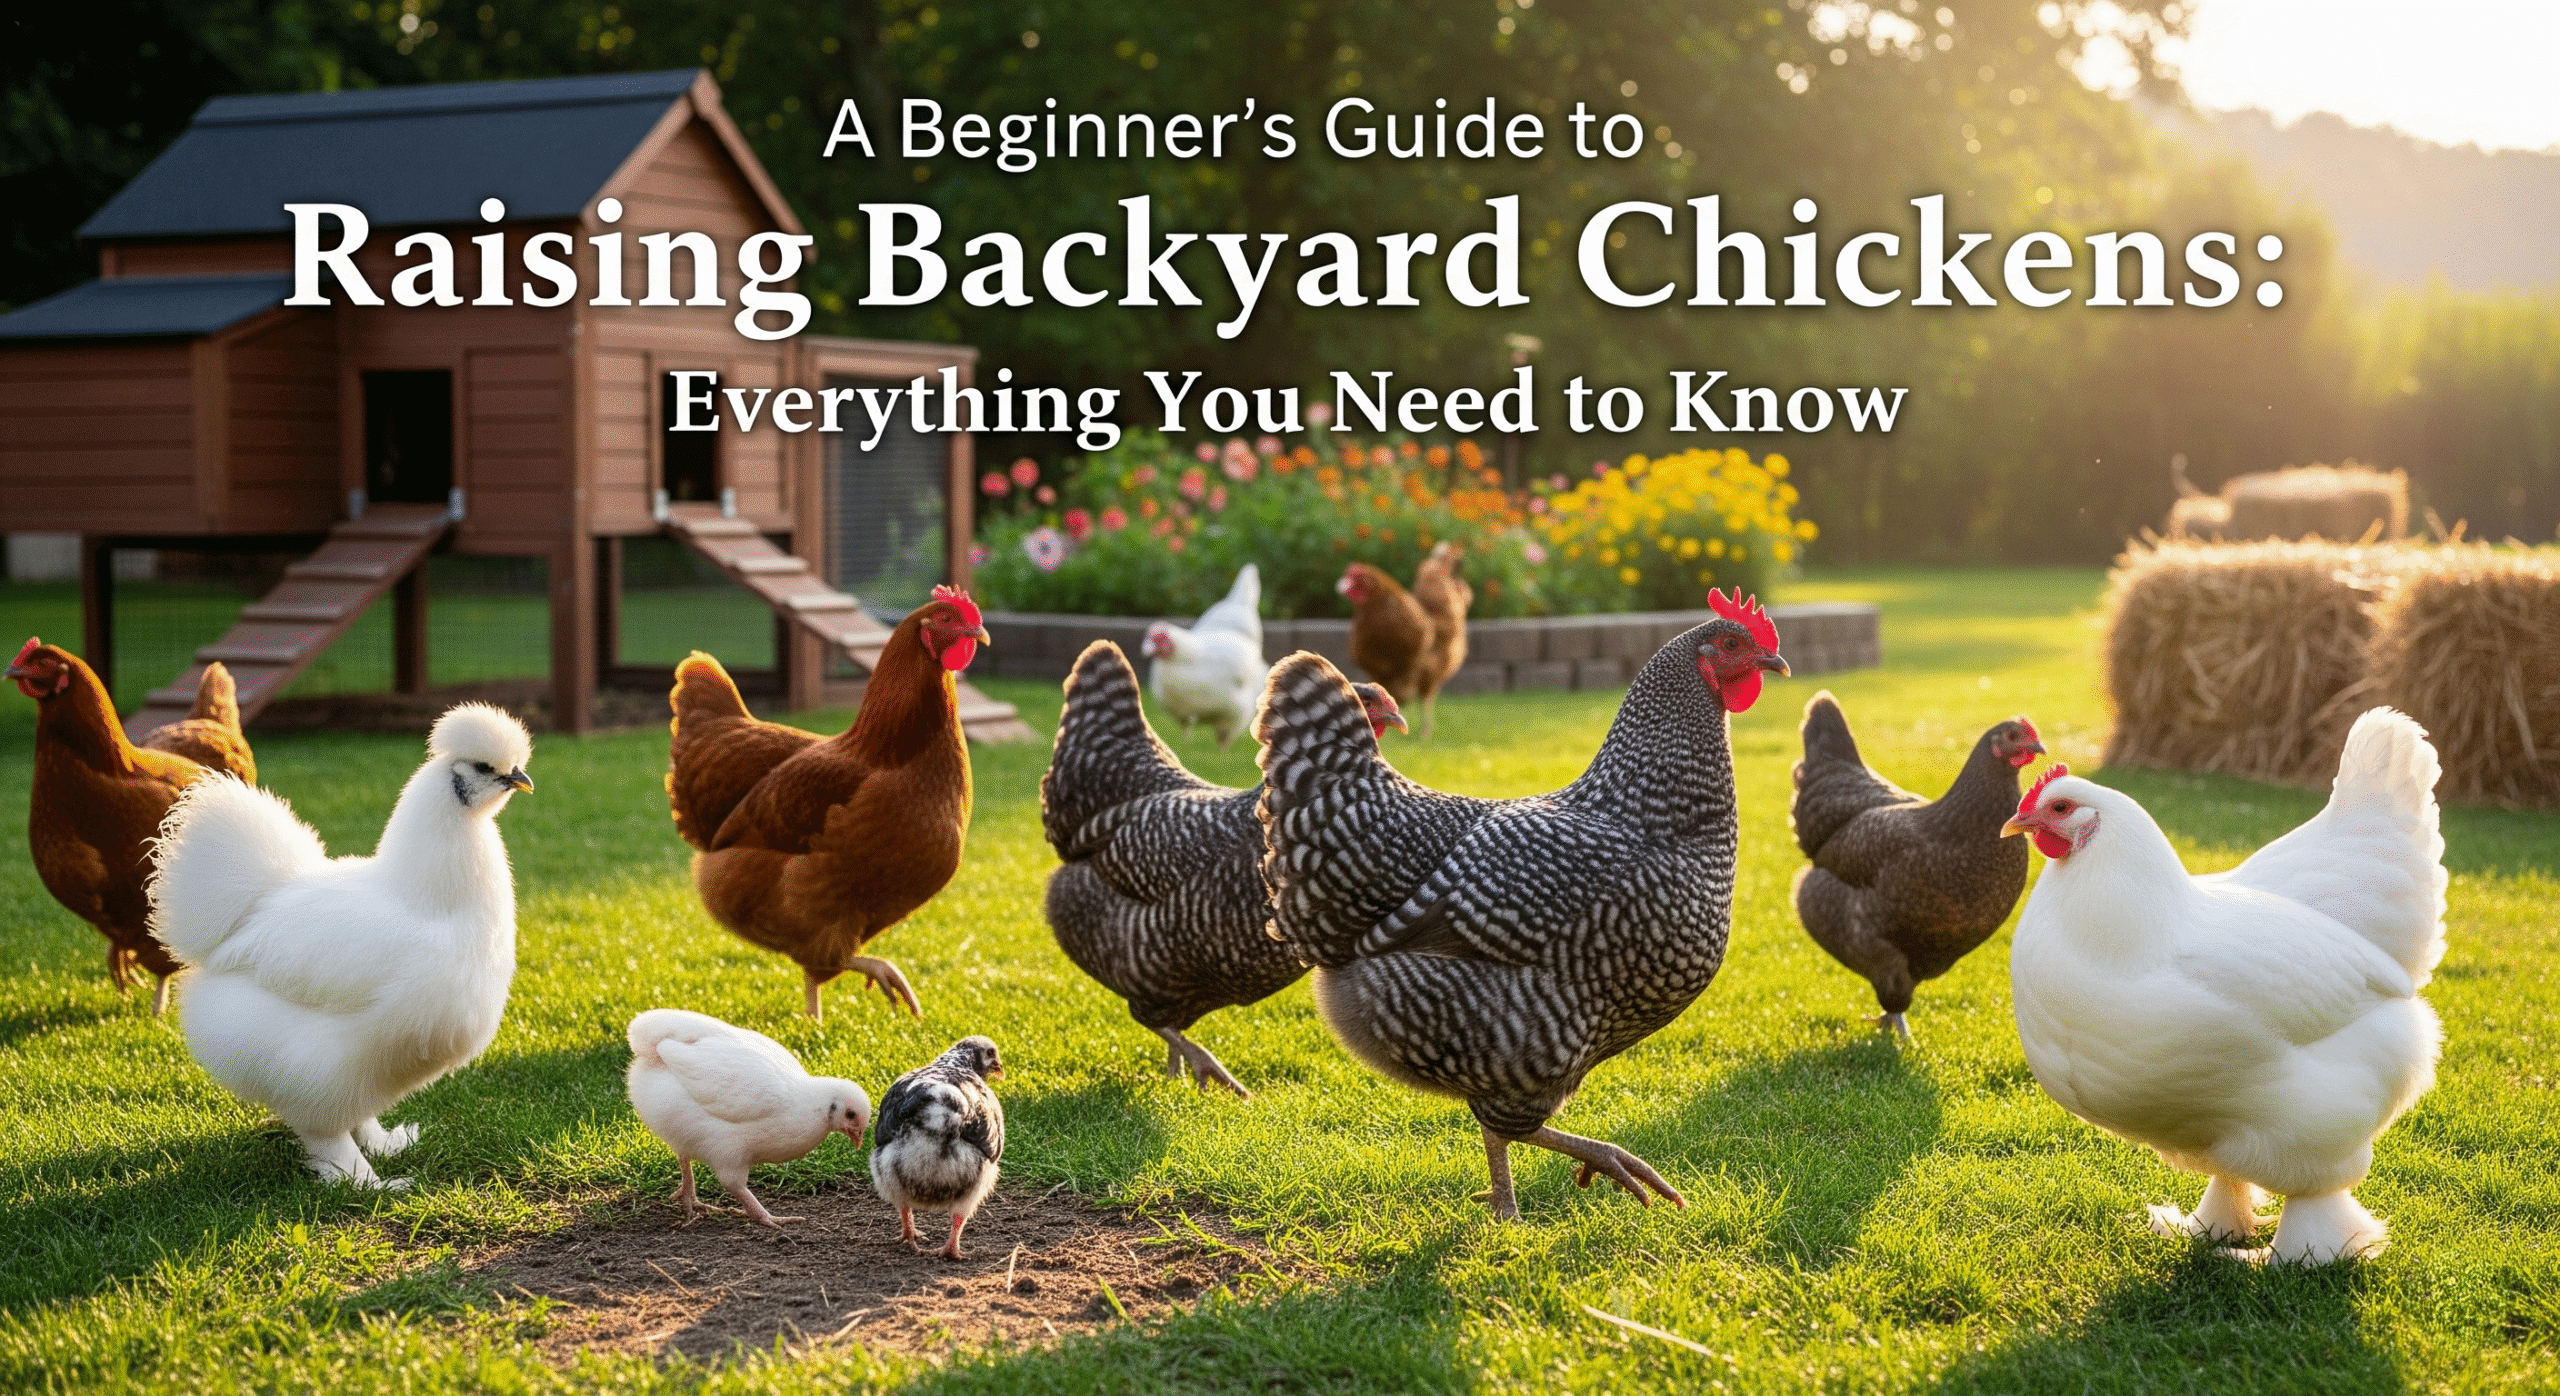
Raising chickens is a rewarding and exciting experience. From the first moment you hear the tiny chirps of your new chicks to the thrill of collecting your first fresh egg, the process connects you to a more self-sufficient and natural way of living.
This guide will walk you through everything you need to know, from preparing for your flock’s arrival to caring for them as they grow into productive, happy hens.
The First Steps
Before you even think about buying chicks, a little preparation goes a long way. This foundational knowledge will ensure your new flock gets a safe and healthy start.
- Check Local Ordinances: The first step is to verify that raising backyard chickens is permitted in your area. Many cities and homeowner’s associations have regulations regarding the number of chickens you can own and whether you are allowed to have a rooster.
- Decide on the Number of Chickens: Chickens are social animals and need the company of a flock. It’s recommended to start with at least three to ensure they don’t get lonely. A common rule of thumb for egg production is three to four hens for a family of four, which should provide a steady supply of eggs for daily use.
- Where to Get Your Chicks: You have a few options for sourcing your chickens. You can purchase them from a local feed store, a reputable hatchery, or even from a private breeder. Hatcheries are a popular choice for their wide variety of breeds and guarantee of chick health.
Setting Up the Brooder: The Chicks’ First Home
Your baby chicks can’t regulate their own body temperature, which is why they need a special indoor nursery called a brooder for their first few weeks.
Essential Brooder Supplies:
- A Container: A large plastic tote, a galvanized tub, or a wooden box will work. Ensure it’s large enough to provide the chicks with space to roam and escape the heat source.
- Bedding: Pine shavings are a great choice. They are absorbent and easy to clean. Never use cedar shavings, as they can be toxic to chicks.
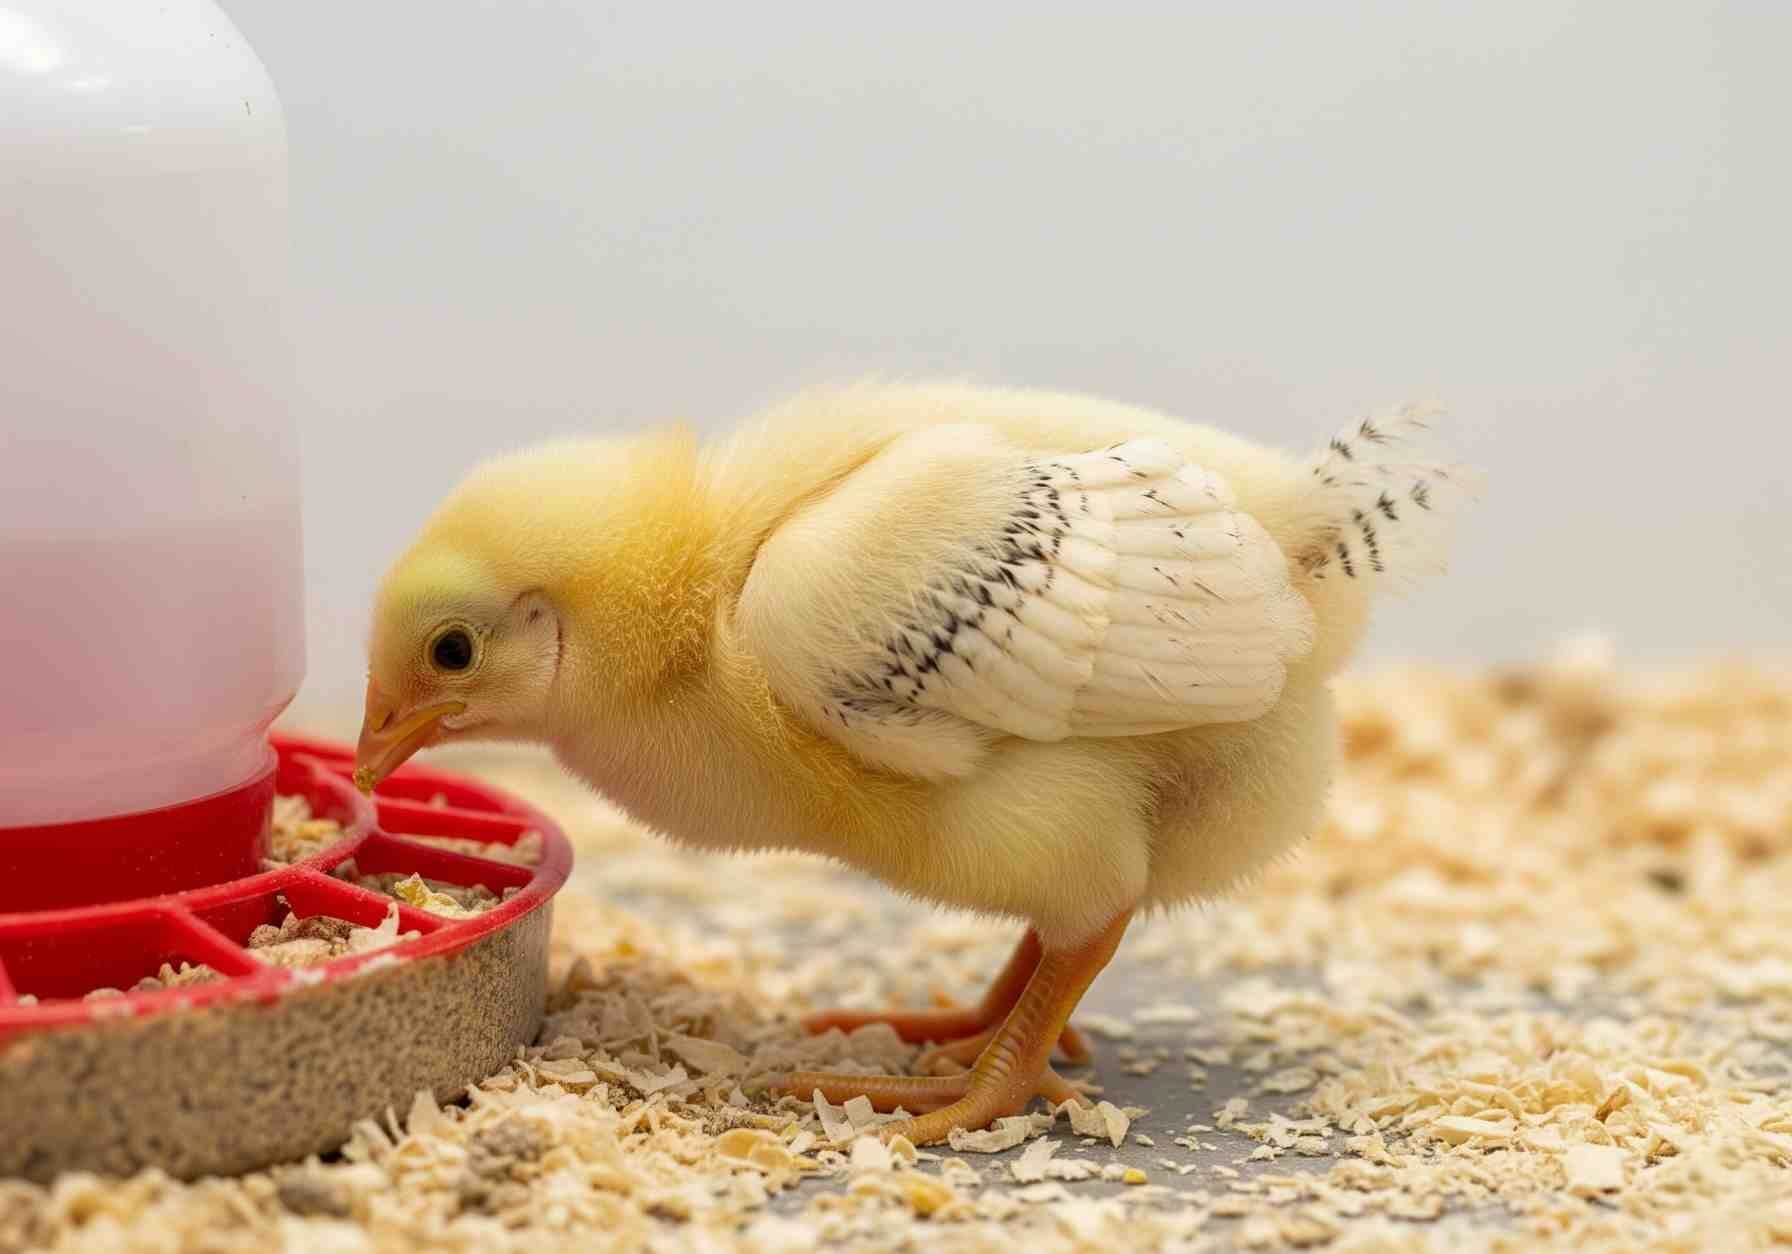
- A Feeder and Waterer: Choose small feeders and waterers specifically designed for chicks to prevent them from drowning or soiling their food.
- Heat Source: This is the most crucial part of your brooder setup. A heat lamp is a common choice, but a heat plate is considered the safest option. Heat plates sit low to the ground, allowing chicks to huddle underneath for warmth, much like a mother hen, and they drastically reduce the risk of fire.
How to Set Up Your Brooder:
- Place about two inches of pine shavings on the bottom of the container.
- Set up the heat source on one side of the brooder. This creates a temperature gradient, allowing the chicks to move closer or further from the heat as needed.
- Place the feeder and waterer in the cooler end of the brooder to prevent the chicks from scalding themselves.
- Hang a thermometer at chick level directly beneath the heat source to monitor the temperature.
The First Six Weeks: Caring for Your Chicks
The first six weeks of a chick’s life are critical for their development. Your role is to provide a safe, warm, and clean environment.
Temperature Control
Your chicks’ first week should be at a cozy 90-95°F. Reduce the temperature by 5°F each week until the heat source is no longer needed. Observe your chicks to gauge the temperature:
- Too Hot: Chicks are spread out, lethargic, and panting.
- Too Cold: Chicks are huddled together in a tight pile directly under the heat source.
- Just Right: Chicks are spread out evenly, happily peeping and exploring.
Feed and Water
For the first 6-8 weeks, chicks need a high-protein starter feed. You will find two main types:
- Medicated Feed: Contains a coccidiostat to help prevent coccidiosis, a common and deadly intestinal disease. This is a good choice if your chicks were not vaccinated.
- Unmedicated Feed: Does not contain medication. This is a must-use if your chicks were vaccinated, as the medication can cancel out the vaccine’s effects.
Tip: Always provide fresh water and clean the feeder and waterer daily to prevent the buildup of bacteria.
Transitioning to the Coop: Moving Outside
Once your chicks are fully feathered, usually around 6-12 weeks, they are ready to move into their permanent home:
- Coop Requirements: Your chicken coop needs to provide three main things: a safe place to sleep, protection from predators and the elements, and a space for egg-laying. Ensure it has proper ventilation, nesting boxes, and a roosting bar.
- Predator-Proofing: This is non-negotiable. Use hardware cloth (not chicken wire) to secure all openings and bury it at least 6-12 inches deep to prevent digging predators like raccoons and foxes from getting in.
- The Big Move: Move the chicks on a warm, sunny day. Place their feeders and waterers in the coop in the exact relative locations they were in the brooder. Show them where the food, water, and roosting bars are to help them acclimate.
The Laying Stages: From Pullet to Hen
The final phase of your chicks’ journey is their transformation into mature laying hens. This is what all your hard work has been leading up to!
- When Will They Start Laying? The average chicken breed starts laying eggs between 18 to 24 weeks of age. This can vary by breed, with some starting as early as 16 weeks and others taking up to 30.
- The Feed Switch: When your hens are around 18 weeks old, it’s time to switch from a grower feed to a high-calcium layer feed. This feed is essential for producing strong, healthy eggshells.
FAQ’s
Q. What is the first thing I should do before getting chickens?
The first step is to check with your local city or homeowners’ association to ensure that raising backyard chickens is permitted in your area.
Q. How many chickens should a beginner start with?
A good rule of thumb is to start with at least three to five chickens, as they are social animals and need the company of a flock.
Q. What is the safest way to keep my chicks warm?
A heat plate is considered the safest option for keeping chicks warm, as it significantly reduces the fire risk associated with traditional heat lamps.
Q. How long do chicks need a heat source?
Baby chicks require a supplemental heat source for approximately six weeks, with the temperature gradually decreasing each week.
Q. When can my chicks go outside into the coop?
You should wait until your chicks are at least six weeks old and are fully feathered before moving them to an outdoor coop.

Hello! I’m Ibrahim, the owner and writer of this blog. I run a chicken farm with 160 chickens, and I’ve gained a lot of knowledge about raising and caring for them. Now, I want to share my insights and experiences with you to help you in chicken keeping.